
This article outlines the process for setting up and configuring dual display functionality on the ClickShare CX-50 Gen2 Base Unit. The dual display setup enhances meeting room experiences by enabling simultaneous display of content across two displays.
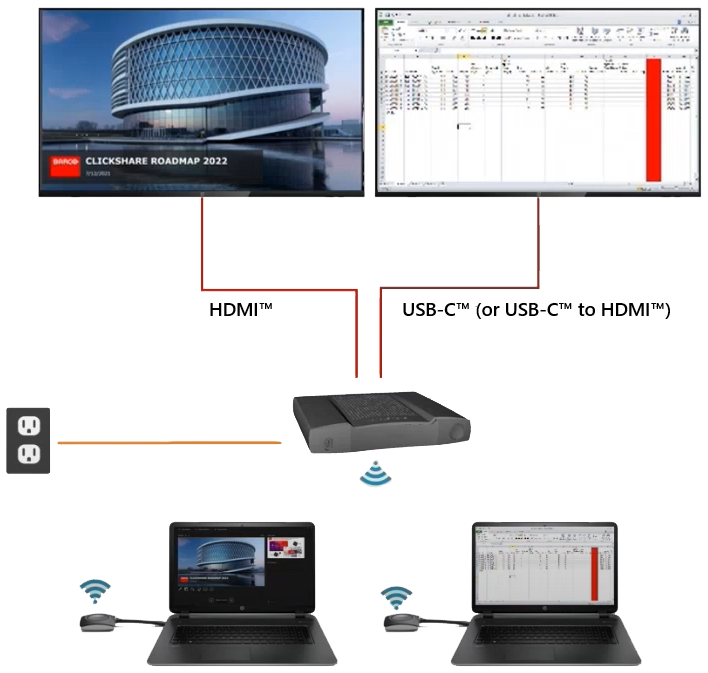
Example (for illustration only): Sharing 2 sources on 2 displays
- CX-50 Gen2
-
Two displays
- When using a touchscreen display, ensure it is connected via the USB-C™ port on the CX-50 Gen2.
- If one of the displays does not support video over USB, you can use a USB-C™ to HDMI™ adapter. For a list of recommended adapters, see KB6680.
-
ClickShare Buttons / ClickShare Desktop App
Info!
The Extended and Clone display settings described in this article are specific to the CX-50 Gen2 configuration. They are not related to the display settings (such as screen extension or duplication) found in your operating system’s device or monitor settings.
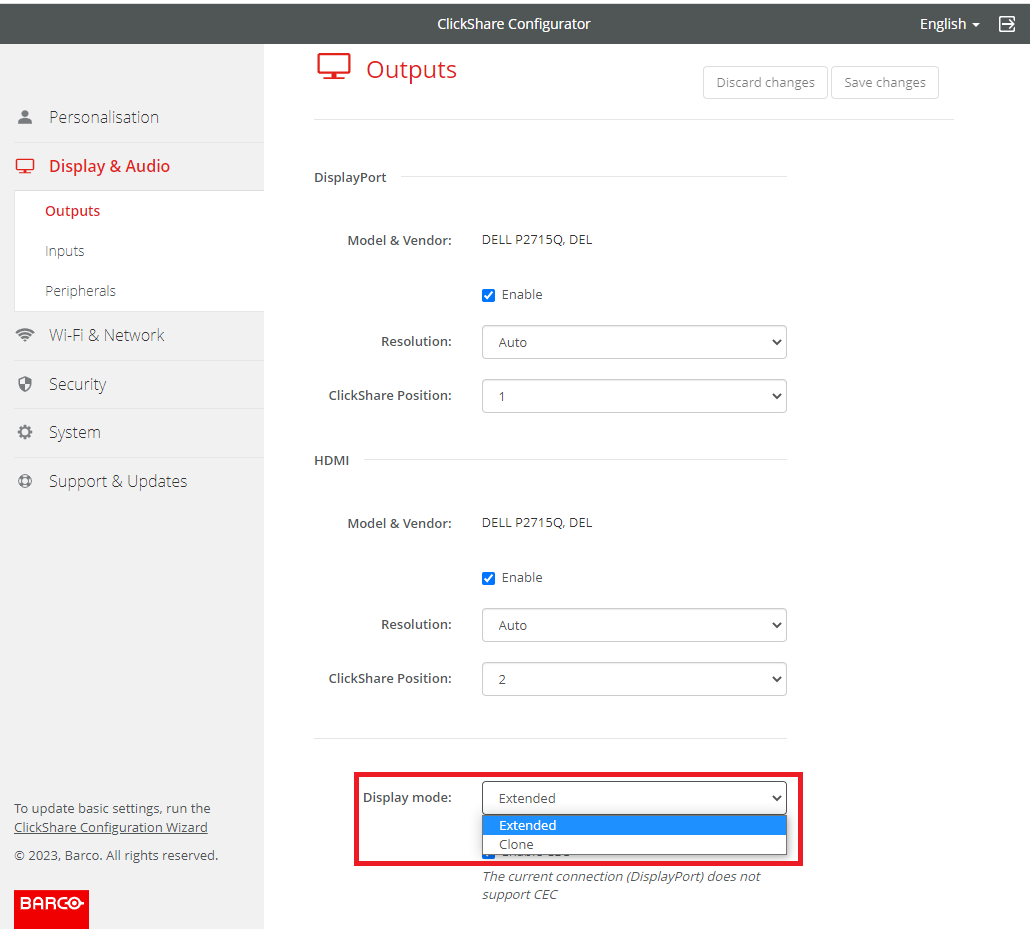
Configuring display mode settings
- Log in to the ClickShare Configurator of your CX-50 Gen2 (how-to, see KB2324).
- Navigate to Display & Audio > Outputs.
- Select Extended (default mode) or Clone from the Display mode drop-down list.
- In Extended mode, the CX-50 Gen2 utilizes both connected displays to show different content simultaneously - each content displayed on a separate display, providing a broader visual workspace.
- Dual-source presentations (e.g., content 1 on one screen, content 2 on the other)
- Video conferencing (e.g., meeting room participants on one screen, shared content on the other)
- In Clone mode, the CX-50 Gen2 displays the same content across both displays. This mode ensures identical content is shown on both displays, enhancing visibility and accessibility. Ideal for:
- You want consistent visibility for all participants, regardless of seating
- You're conducting presentations or video conferences in larger rooms
Tip: Determine whether Extended or Clone mode is better suited for your meeting room setup and content sharing needs - see the comparison table below.
Note - Touchscreen display- Always assign ClickShare Position 1 to the connected touchscreen display in the ClickShare Configurator to ensure proper functionality and responsiveness. [See also].
Note - Managed via XMS Cloud
- If your CX-50 Gen2 is managed through XMS Cloud, you can configure the Display mode settings from XMS Cloud (refer to Base Units → Manage in the XMS Cloud User guide).
- When initially connecting the dual monitor to the CX-50 Gen2 it requires some time to synchronize with XMS Cloud before the settings become available for configuration on XMS side.
- In Extended mode, the CX-50 Gen2 utilizes both connected displays to show different content simultaneously - each content displayed on a separate display, providing a broader visual workspace.
Comparison table - Extended & Clone mode
| |||
|---|---|---|---|
| Modes | Used for | No of sources | |
| 1 source | 2 sources | ||
| Extended (default mode) | Presentation (Content) | 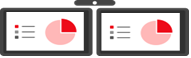 | 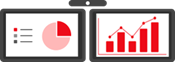 |
| Conferencing (People and content) ¹ | 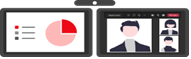 | 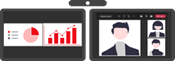 | |
| Wired RoomDock ² |  | Not applicable | |
| Clone | Presentation (Content) | 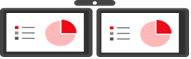 | 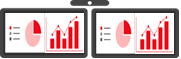 |
| Conferencing (People and content) ¹ | 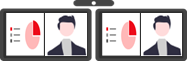 |  | |
| Wired RoomDock ² | 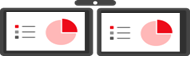 | Not applicable | |

Content 1 (illustration only)

Content 2 (illustration only)

Meeting room participants (illustration only)
¹ ClickShare Conference setup (meeting room participants and shared content side-by-side). How-to, see: KB7894.
² Wired RoomDock setup. How-to, see: KB7294.

