
This article explains how to register your ClickShare device (C-/CX-/CB-series) running firmware version 2.18 or higher to your XMS Cloud account (version 2.25 or higher) by scanning the device’s QR code.
This can be done in three easy steps:
- Scan the QR Code
Use your QR scanner to scan the QR code on your ClickShare device. - Log in to XMS Cloud
After scanning, you’ll be redirected to the XMS Cloud login page. Log in with your credentials to continue. - Review and Save
Check the device and room setup details. Click Save configuration to complete the registration. The device will be added to your selected organization and meeting room.
For a comprehensive step-by-step guide, see the detailed procedure explained below.
If you're registering a ClickShare device in XMS Cloud version 4.24 or below via QR code scanning, see KB15259.
If you're looking for instructions on how to register ClickShare device by clicking the device's registration link, see: KB10810.
Detailed registration steps
-
Scan the QR code of your ClickShare device.

Tip: The QR code for your ClickShare Device can be found to the following locations:
-
Physical card.
-
Onboarding screen.
-
SmartCare page in the ClickShare Configurator.
-
- You'll be redirected to the XMS Cloud login page opened in your default web-browser. Use your XMS Cloud login credentials to log in.
Note: If this is your first time logging in to XMS Cloud, you will need to create an account. Additionally, you'll be prompted to provide key information to personalize your experience - this includes selecting a role type, entering organization details, and setting up an XMS organization account to manage your ClickShare device.
-
Once the ClickShare device is successfully scanned, it’s ready for registration. The system automatically assigns a default meeting room name in the format ClickShare-<serial number>, which can be renamed as needed.

Optionally, you can manage the meeting room setup as needed:
-
Choose a different XMS organisation from the list, if multiple available. Alternatively, continue with the currently selected organization.
-
Click the Pre-provisioned tab and select a meeting room from the list, if available.

Note:
-
This option will be inactive if no pre-provisioned meeting rooms are configured, for details see KB15553.
-
Each meeting room can only be assigned to one ClickShare device.
-
-
Change the default room name ClickShare-<serial number> to a more descriptive or relevant to your setup.

-
-
Review the device details to ensure it's being registered to the correct meeting room and organization. Click Save configuration to complete the registration.

The ClickShare device will be added to the selected organization and assigned meeting room in your XMS Cloud account.
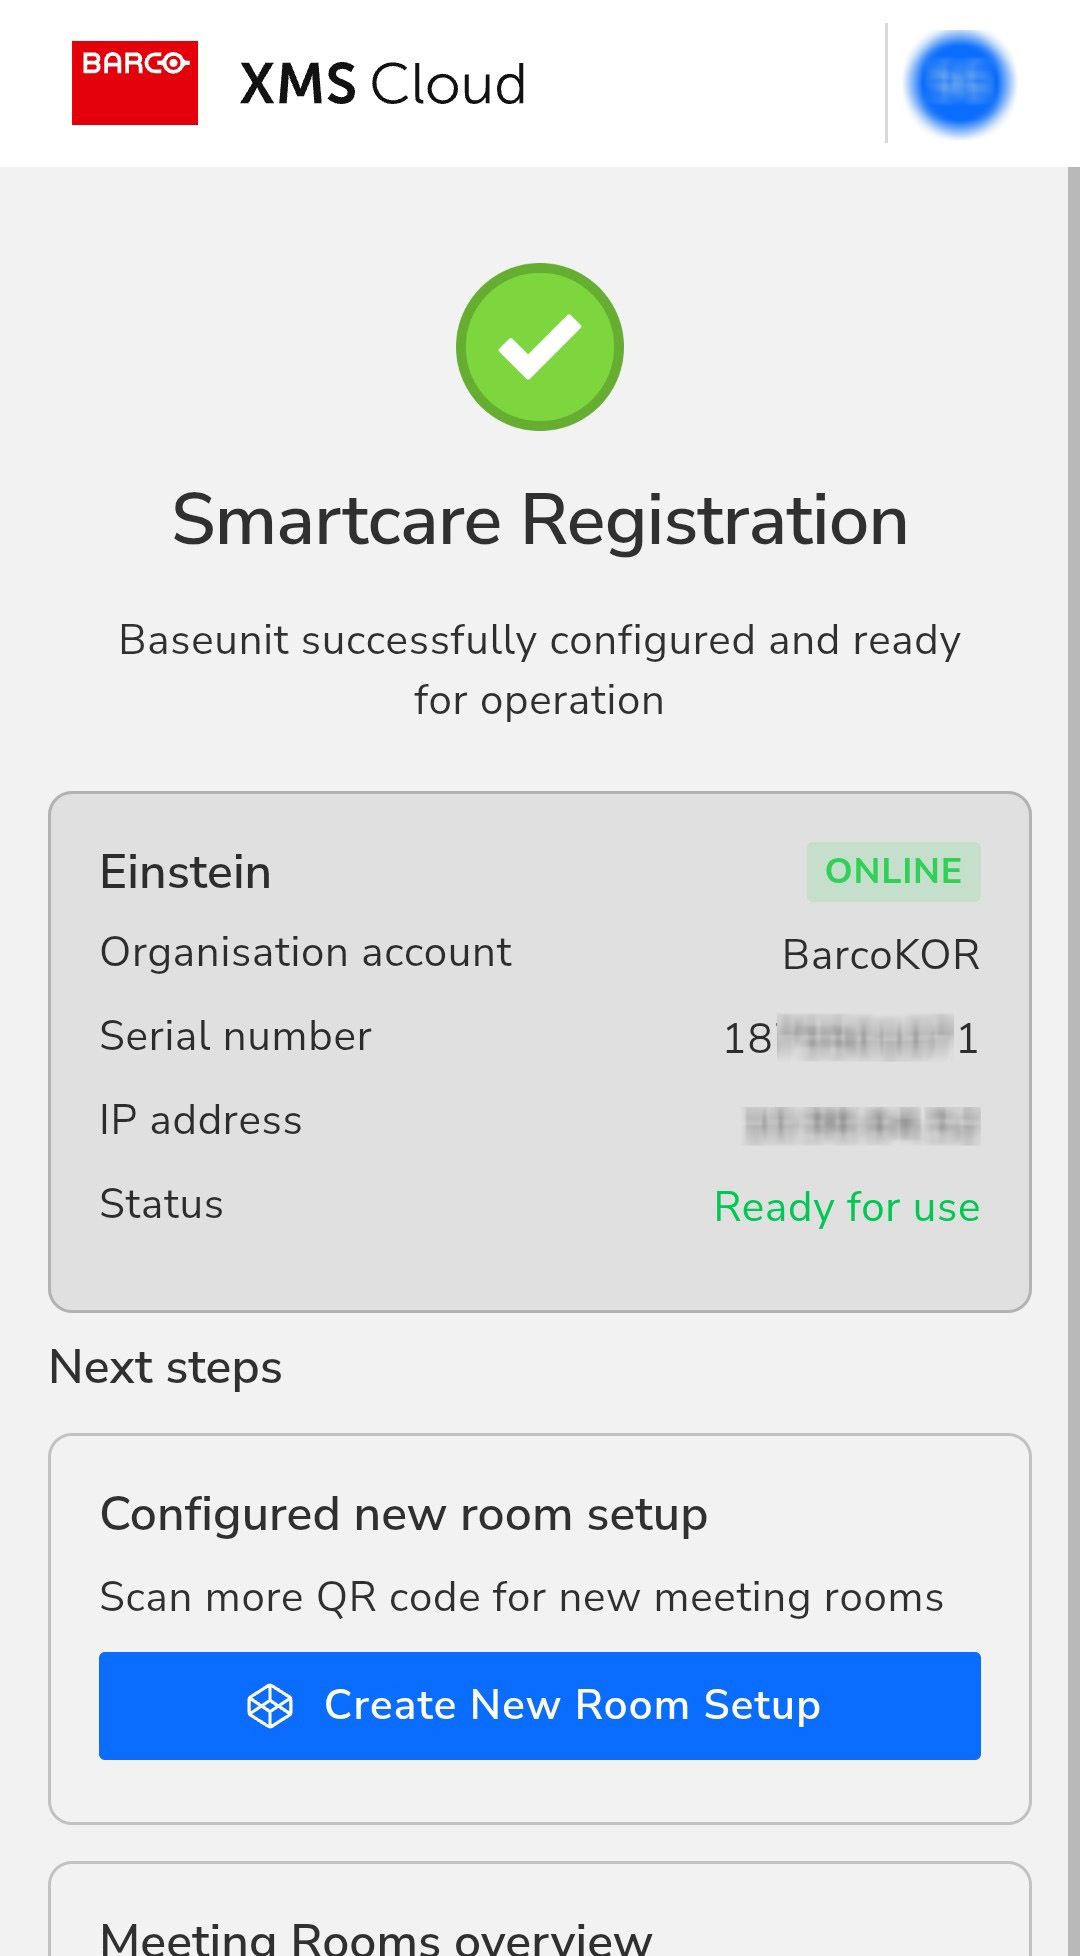
-
[Optional] - To register another ClickShare device.
- Click Create New Room Setup. The QR scanner on your device will open.

-
Use the QR scanner to scan the QR code on your new ClickShare device.
-
Once scanned successfully, the ClickShare device will be added for registration. By default, the meeting room name is set to ClickShare-<serial number>, which you can rename as needed.
-
[Optional] Manage the meeting room setup as needed, see step 3 above.
-
Review the device details to ensure it's being registered to the correct meeting room and organization. Click Save configuration to complete the registration.
The ClickShare device will be added to the selected organization and assigned meeting room in your XMS Cloud account.
- Click Create New Room Setup. The QR scanner on your device will open.

