This article describes two methods for deploying the XMS Virtual Edge VHDX file on Hyper-V. You can download the VHDX file for Hyper-V from here.
| Method 1: Standalone Configuration ⮟ | Method 2: Hyper-V clusters ⮟ |
|---|
Method 1: Standalone Configuration (for Windows server that support Hyper-V in a standalone configuration)
- Open Hyper-V Quick Create via the Windows Start menu.

- Select the local installation source.

- Uncheck the checkbox This virtual machine will run Windows.

- Click the Change installation source button and select the
.vhdxfile stored on your local hard drive.
- Click Create Virtual Machine button for the creation of the virtual machine.

- After successful creation, the machine appears in the Hyper-V manager.

Method 2: Hyper-V clusters
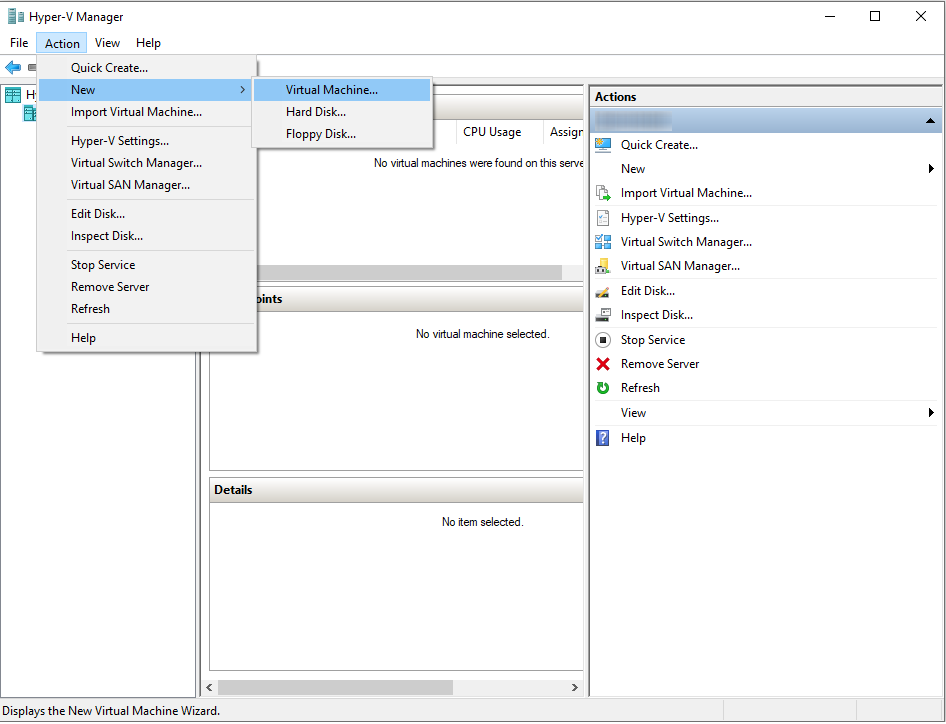
- Open Hyper-V Manger on your computer.
- In the Action menu, click New and then click Virtual Machine...
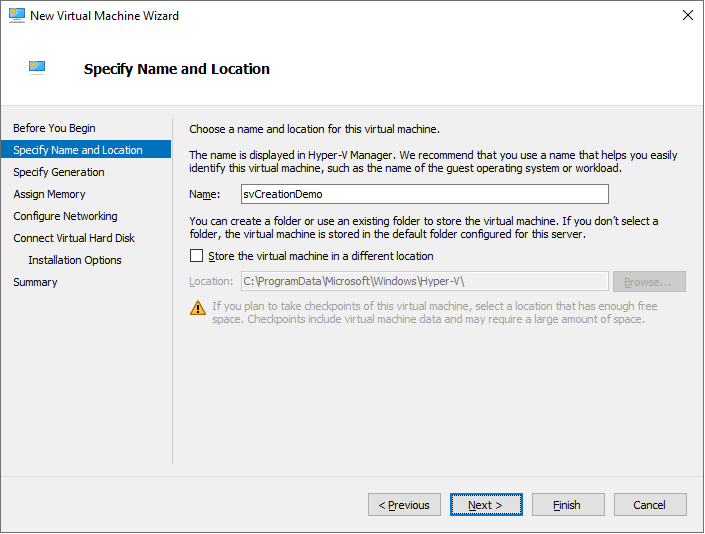
- Specify the VM name and location and then click Next. Leave other default settings as is.
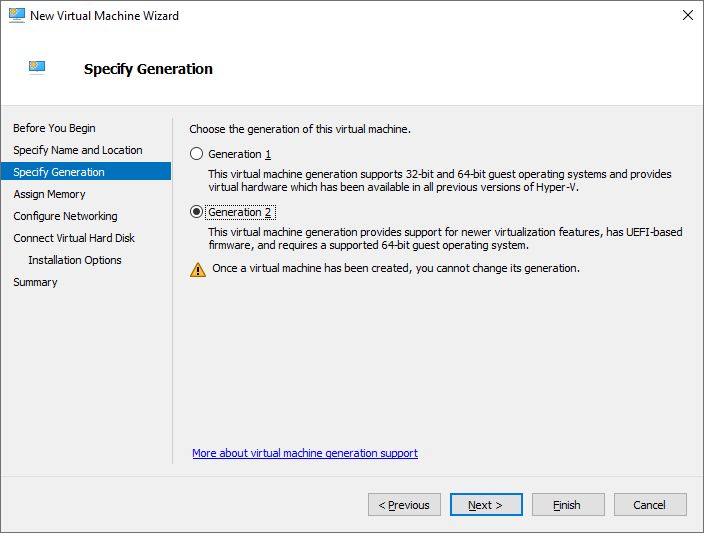
- Select Generation 2 for XMS Edge (it requires SCSI Boot) and click Next.
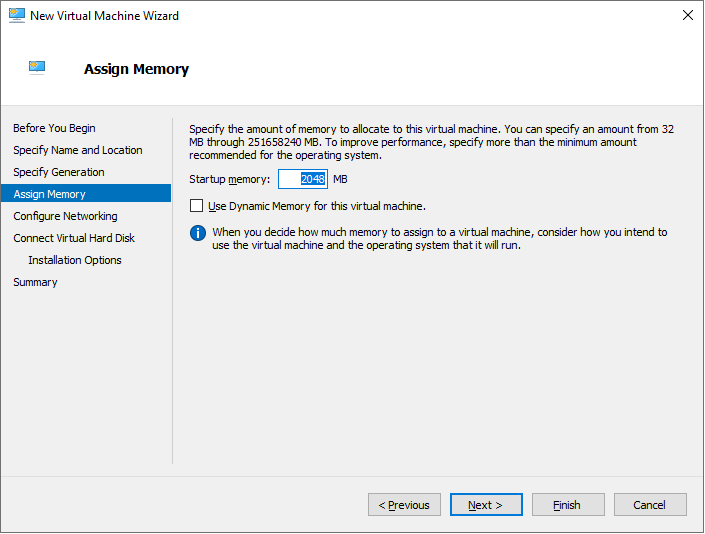
- Specify the amount of memory to be allocated to the VM, recommended is 2 GB (although 4GB might be configured for performance) and click Next.
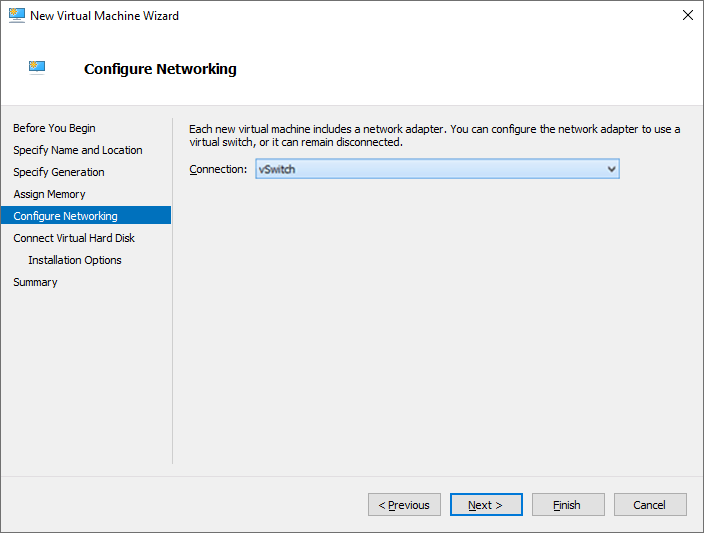
- Select a virtual switch that will be used for connecting the XMS Edge VHDX to the network.
Be cautious when assigning the virtual switch, there may be VLAN requirements (also a DHCP is required to commission the XMS, it is recommended switching to a static IP from the cloud service after full commissioning.
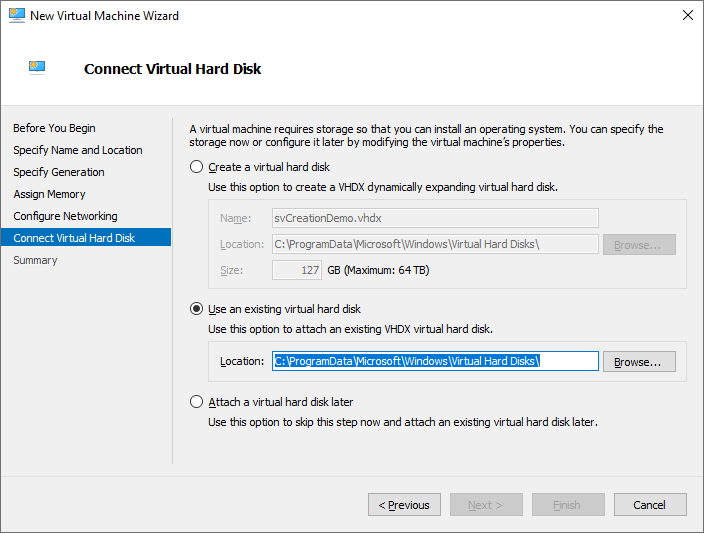
- Select Use an existing virtual hard disk and click Next.
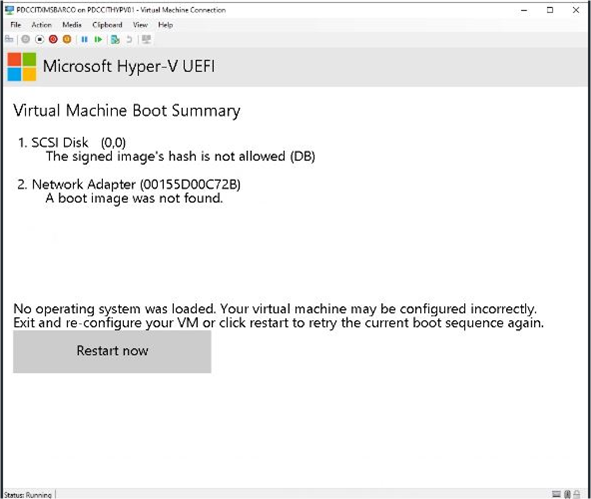
- The XMS Edge VM will now start in the Hyper-V cluster (note secure boot below needs to be deselected otherwise you will receive).