Location
Navigation side bar:
Navigation side bar:
Each created system is added to the multi-system list in the header. For more information on how to switch between systems, see “Multi-systems”.
If a unit is already connected to a system then the left panel will show a label with the name of that system. A checkmark in a circle will be added for systems that are currently connected to Event Master Toolset.

When starting up, Event Master Toolset scans the connected network for compatible units. Previous connections and IP addresses are also recalled. These two are combined into a list in the left panel, where the following identifying information is displayed:
Connection indicator.
Name of the detected unit followed by the host-client relationship in brackets.
Name and connection status of the system the unit is a part of, if applicable.
Note: It is not possible to add the same unit to multiple systems.
Clicking on the expansion arrow (![]() ) will show the full details of the unit.
) will show the full details of the unit.
Must a new system be created?

Are the desired unit(s) visible in the left panel?
Which type of system must be added?

Enter the IP address into the input field and click .
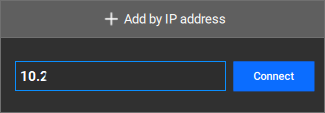
Connection with the unit will be established.
Is this unit part of a linked system?
Rename the system by double clicking on the current name in the top panel.