5.3 Installing the lens support bottom plate

Required tools

Allen wrench 6 mm

How to install the bottom plate
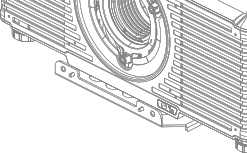
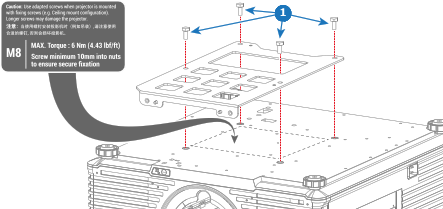
  1. Turn the projector upside down.

    Note: Use a clean blanket to prevent scratches on the projector top cover.
  2. Install the bottom plate of the lens support on the bottom side of the projector. Use 4 bolts M8 x 15 (reference 1) and apply a torque of 6 Nm.

    Note: The M8 fixation points for ceiling mount are used. See note on bottom plate.
    Image 5–4
    Tip: Now that the projector is placed upside down, it is a good opportunity to loosen the projector feet a little bit. On first delivery, the feet are firmly tightened.
  3. Place the projector back on its feet.

    Image 5–5