Location
> >
> >
Hardware diagnostics can be run on the entire system or on individual components of the system. These tests will use the entire capacity of the selected option. During the test the involved components will not be usable. An overview of all results and possible issues will be generated after the diagnostics have been completed. These can be stored in a log file.
The Encore3 must be idle before the diagnostics can be run.
8GB+ USB stick formatted in FAT32.
Must the entire Encore3 be tested?
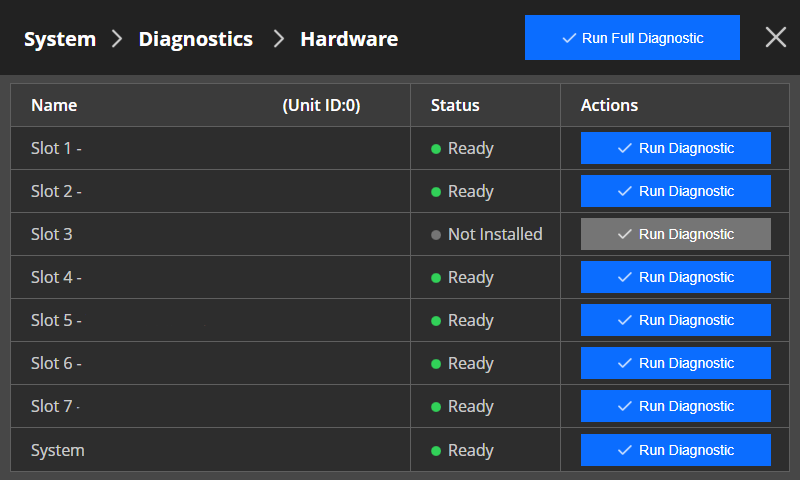
The selected parts will be tested. This may take several minutes depending on the chosen option.
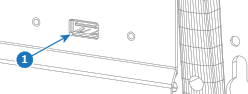
Insert the USB stick in the desired port: (optional)

Tap on to store a copy of the diagnostics. (optional)

Tap on to dismiss the pop-up
