7.8.7 MVR configuration

Location
  1. Navigation side bar: Configuration
  2. Central work window:
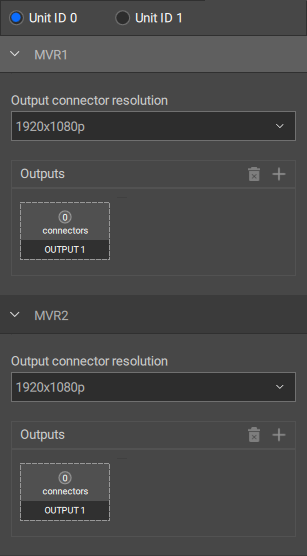
 Detail View
  3. Right panel: Output > MVR
About MVR

MVRs are automatically created by the unit. These MVRs cannot be deleted. It is also not possible to create additional MVRs.

When an MVR is assigned directly to an output, then the entire MVR layout is streamed on that output without the need for additional configurations. For more information on how to manage the MVR layouts, see “MVR”.

How to configure
  1. Select the desired MVR using one of the following methods:

    • Click on the desired destination in the mapped section next to the unit(s).
    • Click on the name of the desired MVR in the right panel.
    Note: Only one option can be selected at a time.
    Note: If more than one unit is part of the system, then the MVRs in the right panel will be separated alongside unit IDs. To switch between units, click the radio button before the unit ID number.
    Tip: Selections from one method are automatically reflected in the other methods as well.
    Image 7–82
    Image 7–83

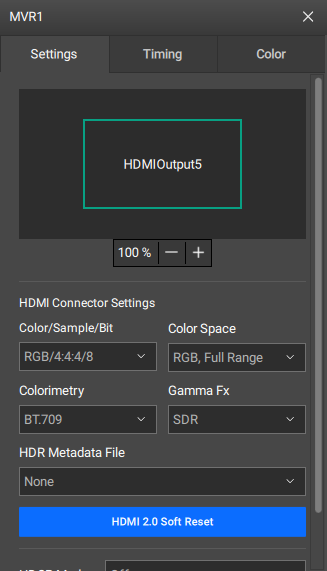
    A detail window will pop-up in the central work area.

  2. Select the desired resolution from the drop down under Output connector resolution in the right panel.

    Image 7–84
  3. Click on the output field in the Outputs section to assign the MVR to the output.

    Image 7–85
  4. Click on the desired connector to map the output.

    Note: Only output connectors from the same unit can be selected.
    Image 7–86

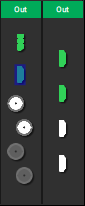
    The name of the connector will be added below the output field.

  5. Edit any desired settings in the pop-up window.

    Note: Some settings require advanced knowledge. Ensure enough training and understanding of the setting before editing.
    Tip: This pop-up window can be moved anywhere within the central work area.
    Image 7–87
  6. Double click on the name in the right panel to rename the MVR.

    Tip: Provide clear names that reflect the intended purpose.
    Image 7–88
  7. Click the save icon () in the header.