About video
Video filters can be added over the captured image. These filters can compensate for differing conditions across meeting rooms or to make videos look more uniform.
Video filters can be added over the captured image. These filters can compensate for differing conditions across meeting rooms or to make videos look more uniform.
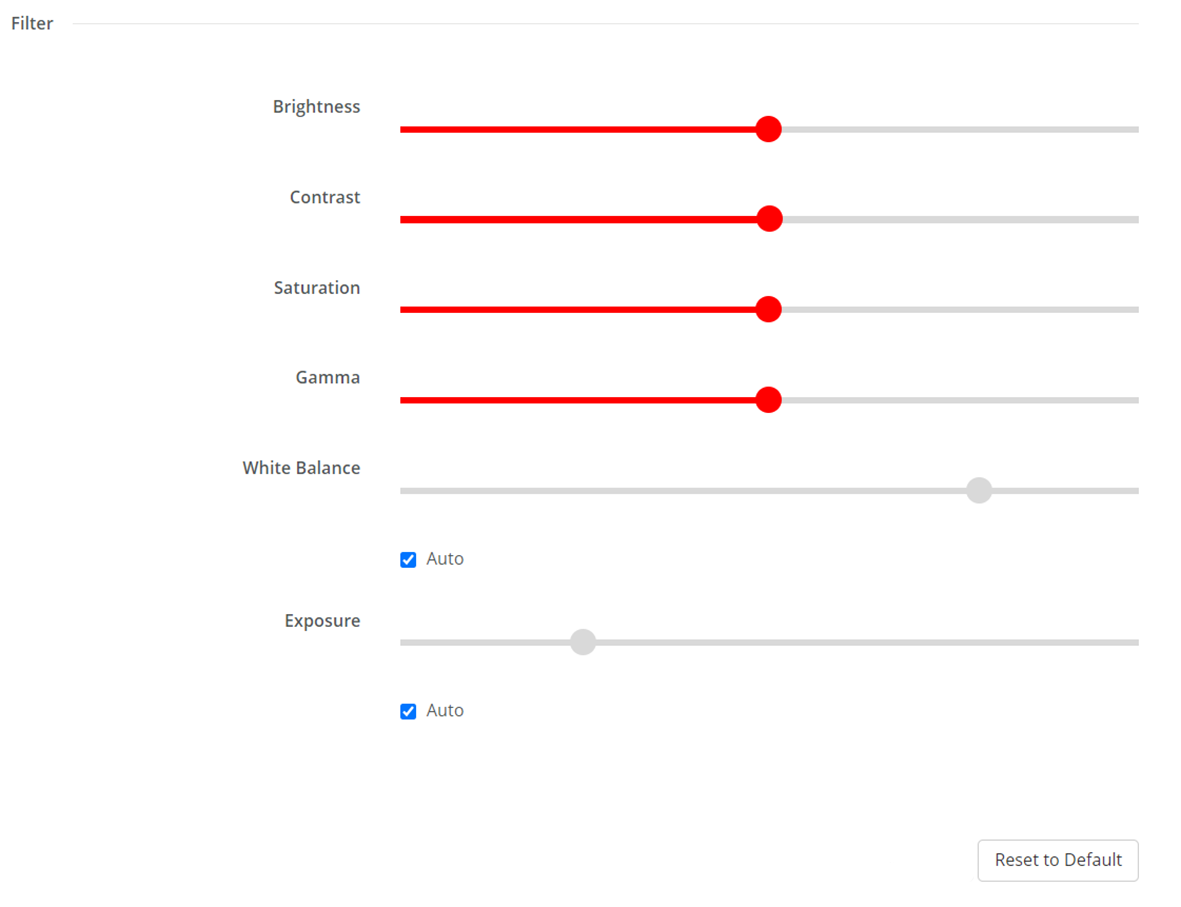
“Auto” will let the Base Unit analyze the incoming image and change the strength of the enabled filters to maximize video quality.
Only white balance and exposure can be toggled to perform auto adjustment by checking the checkbox below their respective sliders.
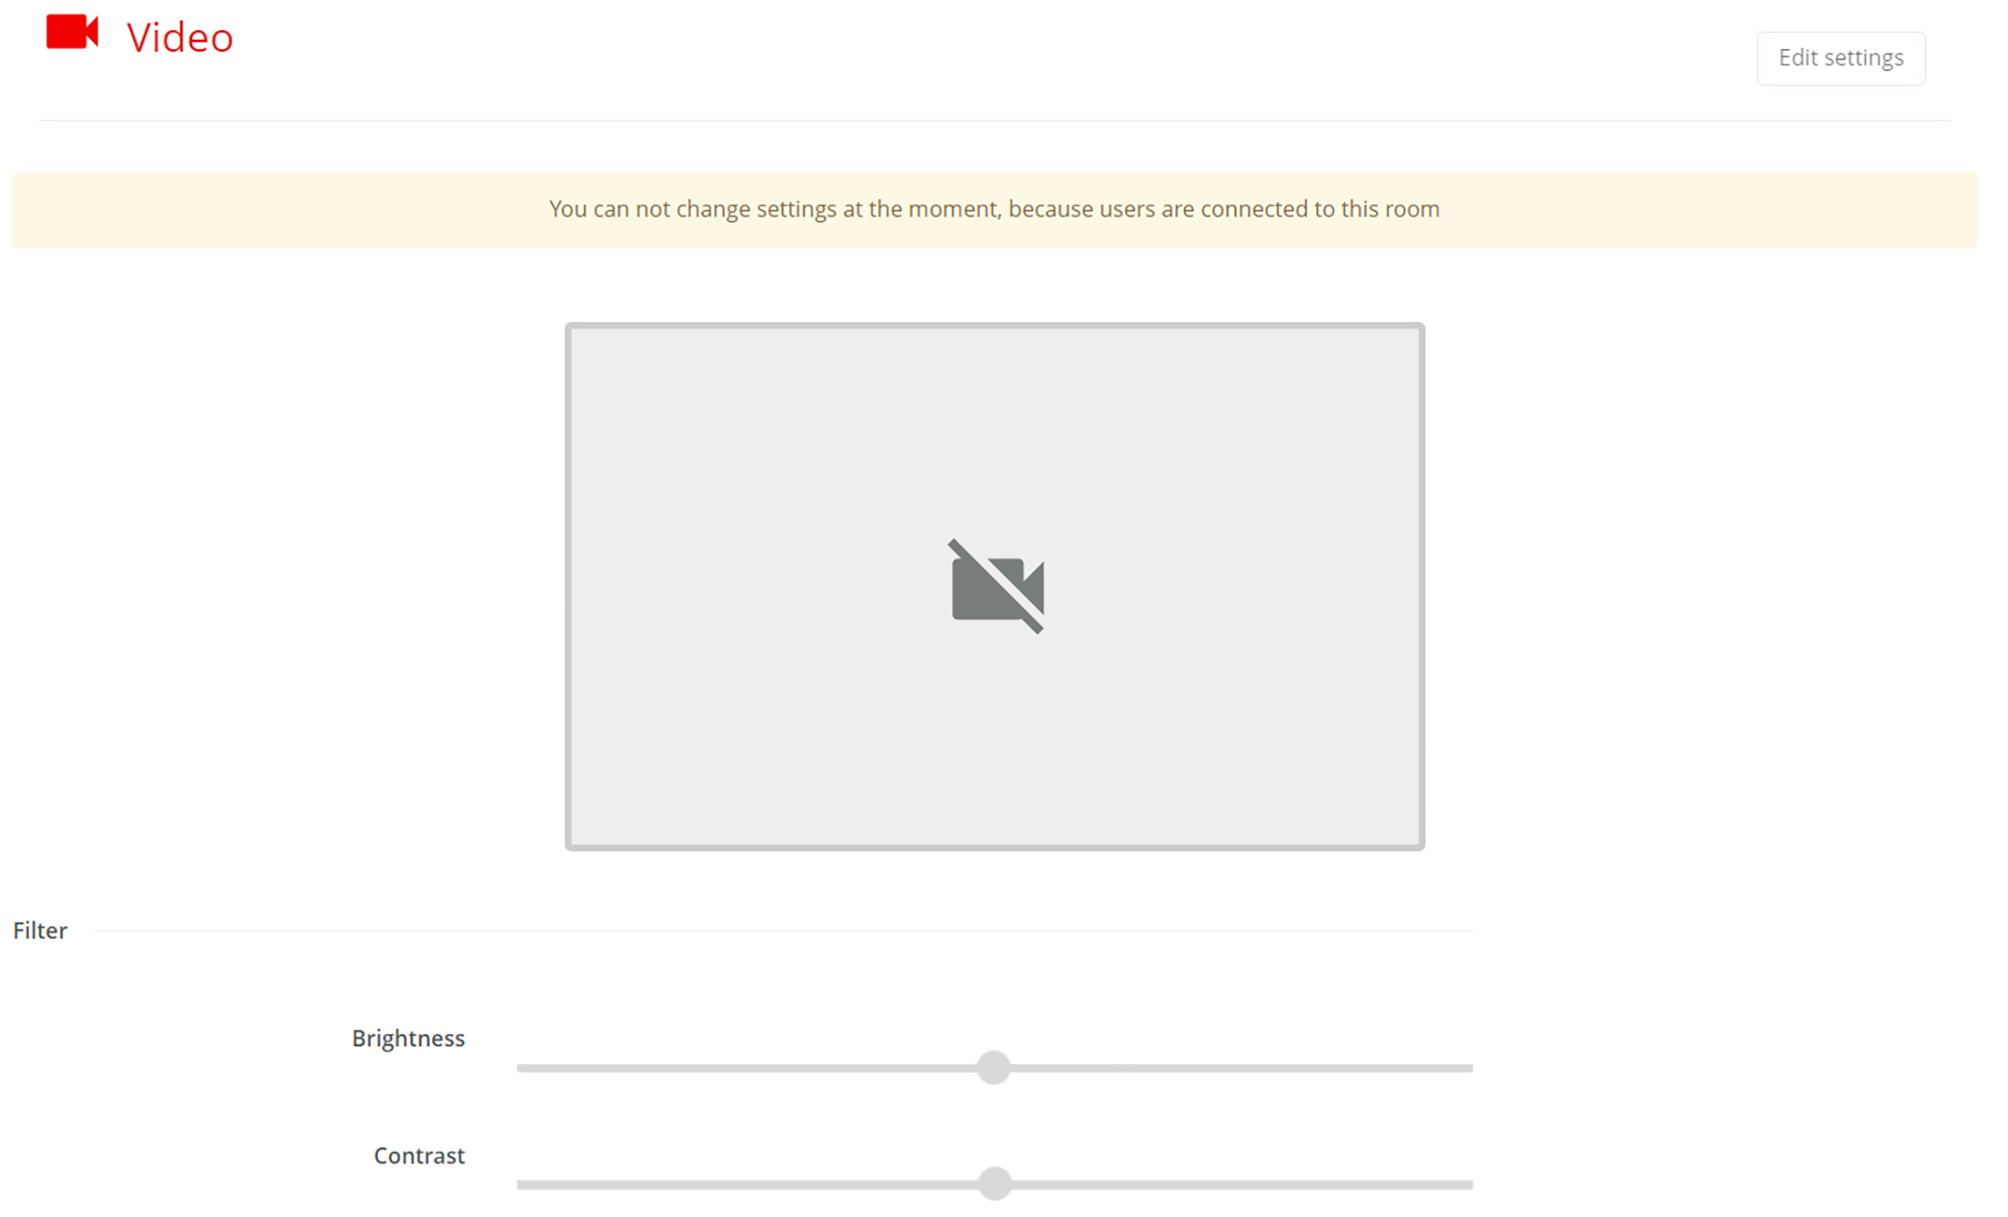
Click on “Edit settings” button in the upper right corner.
A message is displayed on the connected display for 10 seconds, warning that the camera is being used by an admin.
Adjust the sliders of the desired filter to increase or decrease its effect.