How to register on mobile
Scan the XMS Cloud QR code on one of the possible locations.
- On the Base Unit itself.
- On the landing page of ClickShare of a connected display.
- On the SmartCare page of the configurator.
Do you have a XMS Cloud account?
- If yes, log in and go to step 4.
- If no, register an account by following the next step.
Are the device(s) being installed for a client?
- If yes, click “”.
- If no, click “”.

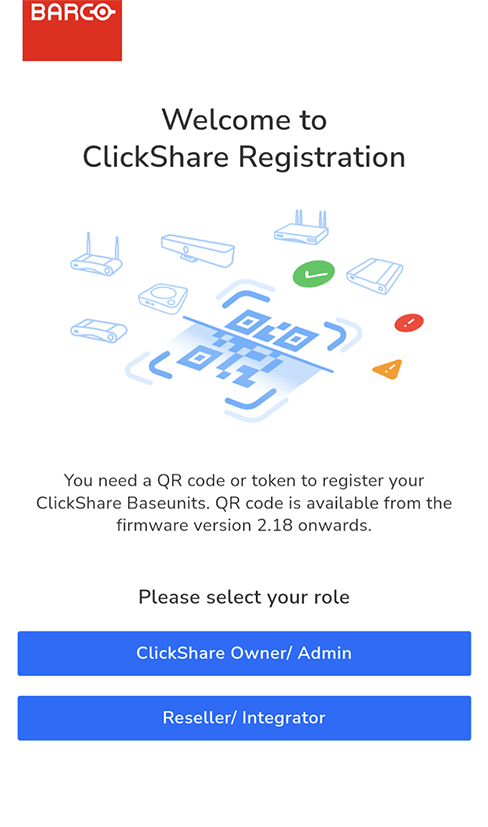
Image 5–15 Example landing page after scanning the QR code. The registration page will be shown.
Click on the arrow “” or search and click on the arrow “” for the desired organisation from the list.
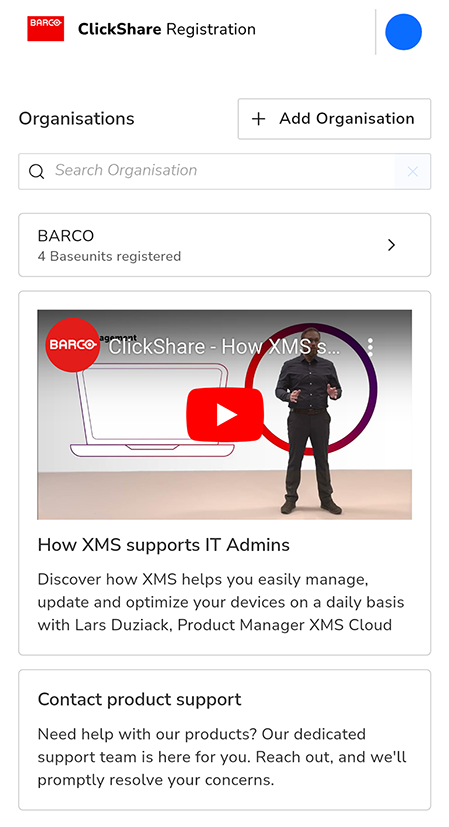
Image 5–16 Example of the registration page. If the desired organisation is not in the list, follow the below substeps to create a new organisation within XMS Cloud.
- Click on “” to create a new organisation.
Enter the name and select the applicable country.
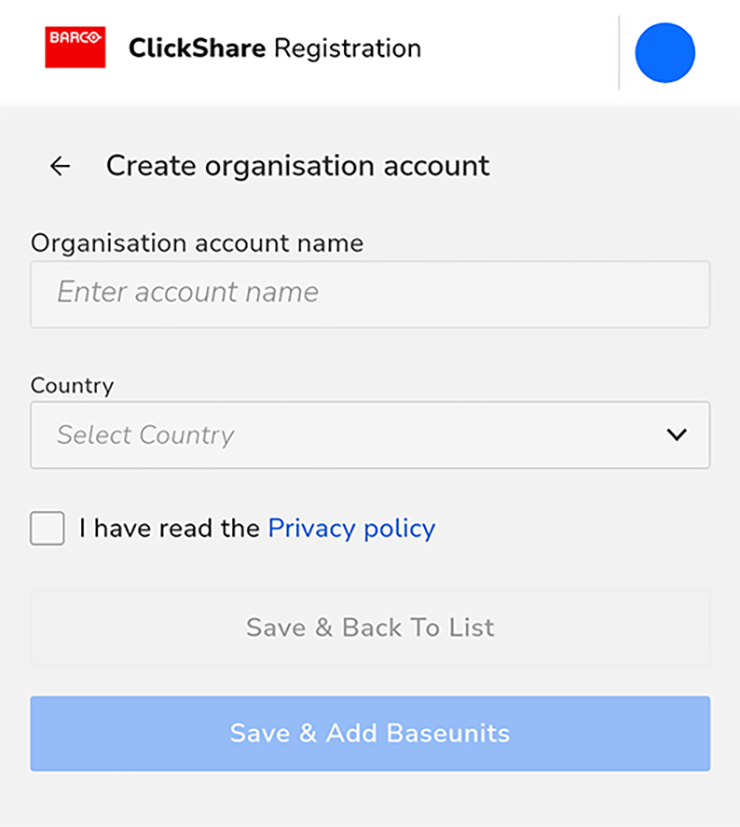
Image 5–17 Example of creating an organisation. - Read and check the checkbox for the “”.
- Click “” to link the Base Unit to the newly created organisation or click “” to create another organisation or choose an existing one.
An overview of the selected organisation will be show. View the currently registered Base Unit(s) or get a quick overview of the Base Unit(s) that are still waiting finalization of the registration.
Click “” to start registering device(s).
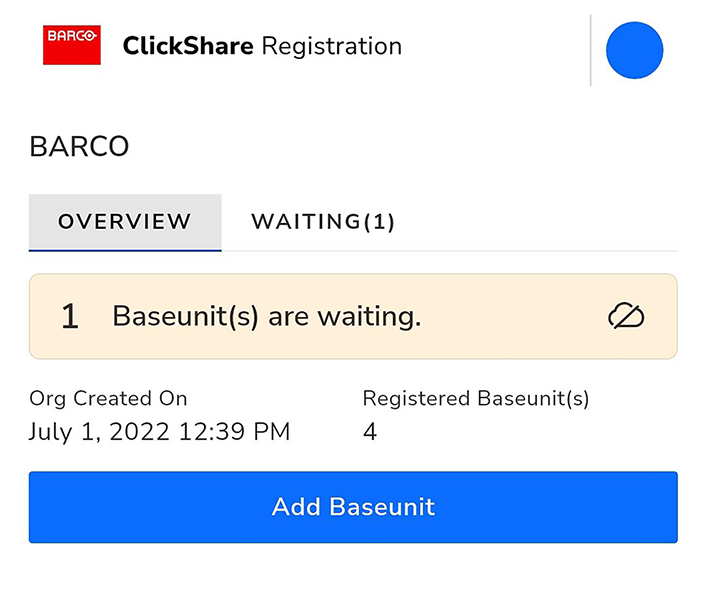
Image 5–18 Example of the organisation overview. Scan the QR code of the Base Unit again to register it to XMS Cloud. Base Unit(s) with firmware lower than 2.18 must follow the below substeps as alternative to scanning.

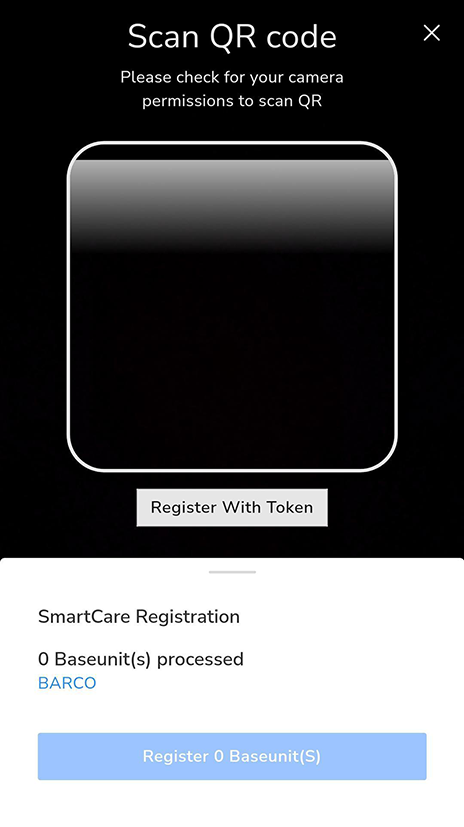
Image 5–19 Example of QR code scanning page. Aim the camera in such a way that the entirety of the QR code fits within the white rounded rectangle. If successful, then the Base Unit will be processed and registered.
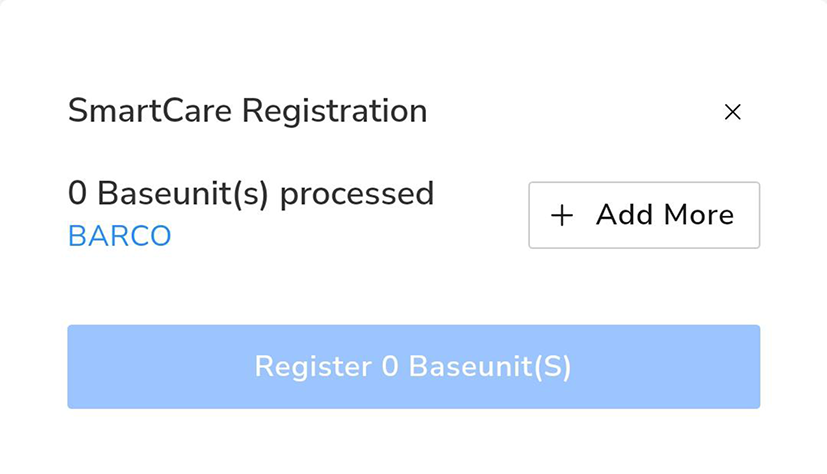
Click on the “” button to manually add the Base Unit.

Image 5–20 Example of manual registration with a token. - Enter the serial number of the Base Unit.
- Click “” to process and register the Base Unit.
Repeat these (sub)steps until all desired Base Units have been added.
Review the list of added Base Unit(s) and click “”.
A pop-up will be shown that the Base Unit must be connected to the network to finalise the onboarding.
- For more information on how to manage the added Base Unit(s) or use XMS Cloud, see the XMS Cloud user guide.