Make sure the projector is installed in the rigging frame.
Make sure the projector is installed on the desired position.
Make sure the desired lens is installed in the projector. In case of a UST lens that projects 90°, make sure the lens is fixated in the desired direction.
Choosing the fixation position
Tip: When deciding on which frame to mount the shutter, always make sure there is sufficient space to rotate the shutter flap 90° clockwise and/or counterclockwise.
The position of the shutter assembly will differ, depending on the chosen lens, and lens direction. Choose one of the following:
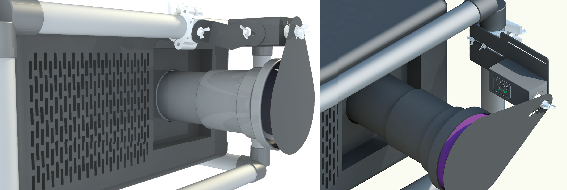
If the lens is a straight barrel lens, mount the shutter on either the top, right or bottom frame, depending on what space is available (see following examples).
Image 10–8Examples of shutter mounted on a straight barrel lens
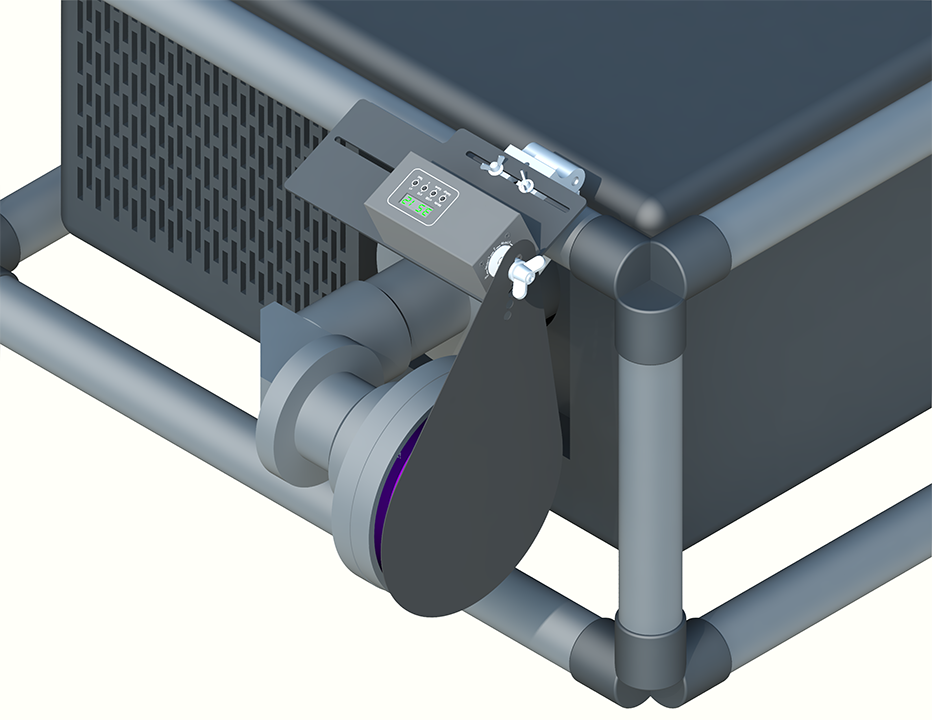
If the lens bends 90° towards the left or right side of the projector, mount the shutter on the top or bottom frame of the rigging frame, with the flap towards the lens.
Image 10–9Example of a shutter mounted to cover a lens bending to the right of the projector
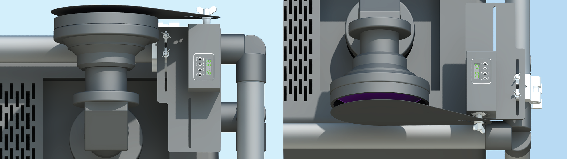
If the lens bends 90° towards the top or bottom of the projector, mount the shutter on the right side frame of the rigging frame, with the flap towards the lens.
Image 10–10Examples of shutters mounted to cover a lens bending to the top or bottom of the projector
Required parts
External shutter assembly
Safety cable
How to fixate?
Fixate the external shutter on the chosen frame bar, as previously explained.
Use the wing nut of the shutter flap to reposition the shutter flap if necessary. Make sure that the lens is completely covered by the flap in its neutral state.
Tip: If necessary, loosen the T-handles of the bracket as well and reposition the shutter as a whole.
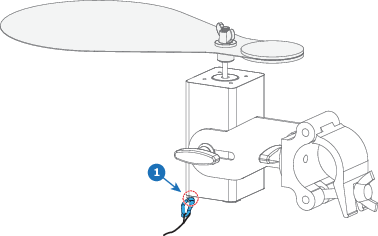
Mount the safety cable onto the external shutter as follows.
Loop one side of the safety cable with one of the frames of the projector rigging frame.
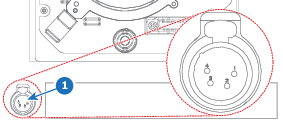
Click the hook connected to the other side of the safety cable onto the opening on the bottom of the shutter motor (reference 1).
Image 10–11Location of the safety cable
Connect the shutter motor to the front XLR connector of the projector.
Tip: If the front XLR connector is already in use for another device (e.g. the motorized frame), use the XLR splitter delivered in this kit to connect both the shutter and the other device to this XLR connector.
Image 10–12Example of the location of the XLR connector on the UDX