How to assemble the shutter?
Combine the coupler and the bracket as illustrated.
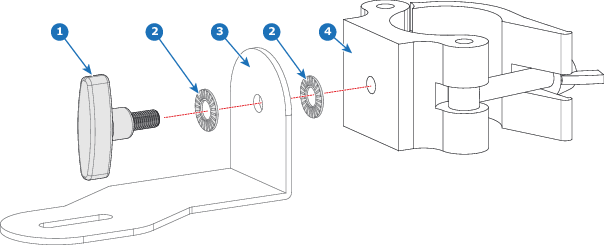
Image 10–4 - 1
- T-handle (shorter one)
- 2
- Washer
- 3
- Bracket
- 4
- Coupler
Combine the coupler bracket to the shutter motor as illustrated.

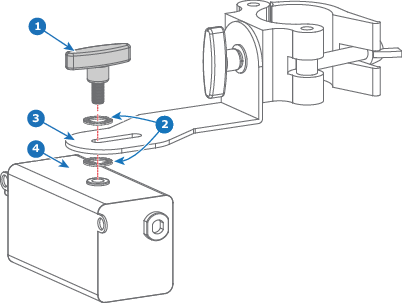
Image 10–5 - 1
- T-handle (larger one)
- 2
- Washers
- 3
- Bracket
- 4
- Shutter motor
Split apart and recombine the propeller screw & washer set to capture the shutter flap as illustrated.
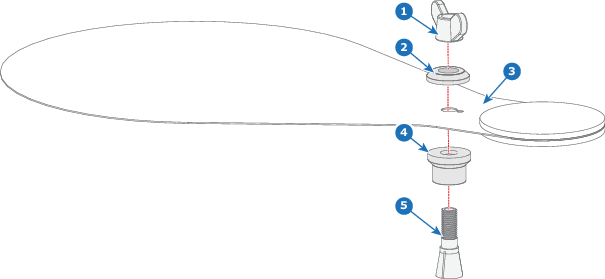
Image 10–6 - 1
- Wing nut
- 2
- Customized washer
- 3
- Flap
- 4
- Customized part
- 5
- Special screw
Place the shutter flap onto the rest of the shutter as illustrated and tighten the screw.

Image 10–7