About Calendar
The calendar capability allows to display your room calendar on the monitor connected with ClickShare device.
The calendar capability allows to display your room calendar on the monitor connected with ClickShare device.
XMS Cloud can be used to display the availability of the meeting room on the screen using ClickShare (optional feature). This is done securely using Azure Enterprise Applications that integrate with Azure AD. To mitigate security risks that might arise while integrating Azure Enterprise Applications in Azure AD, this feature makes use of 2 separate Azure Enterprise Applications, the ‘ClickShare Meeting Room Discovery’ and the ‘ClickShare Calendar Sync’. The ‘ClickShare Meeting Room Discovery’ is a multi-organisation application while the ‘ClickShare Calendar Sync’ is a single organisation application, only hosted in the customer’s Azure AD. The ClickShare Base Units access the calendars only through the single organisation ‘ClickShare Calendar Sync’ using a per customer unique and random client secret. The client secret is created by Microsoft with the following properties: randomly generated and expires automatically after 24 months.
For more in-depth information, see Barco’s Security white paper “XMS Cloud and (Virtual) Edge Security Whitepaper” which can be downloaded from Barco’s website.
To enable the device to get the calendar, XMS Cloud needs to be “connected” to your Microsoft Azure Account. This ‘connection’ makes it possible to discover your rooms and share their credentials with the devices. Approval from your organization's O365 administrators is required.
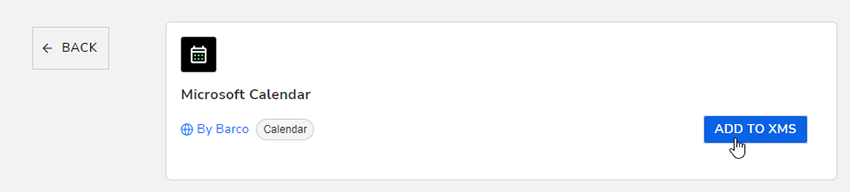
By default, the Microsoft Calendar plug-in is installed in your current organisation. If not (or if removed manually), proceed as follows to bring it back:
The following actions are to be performed by the IT administrator with a global Administrator role in Azure Active Directory.
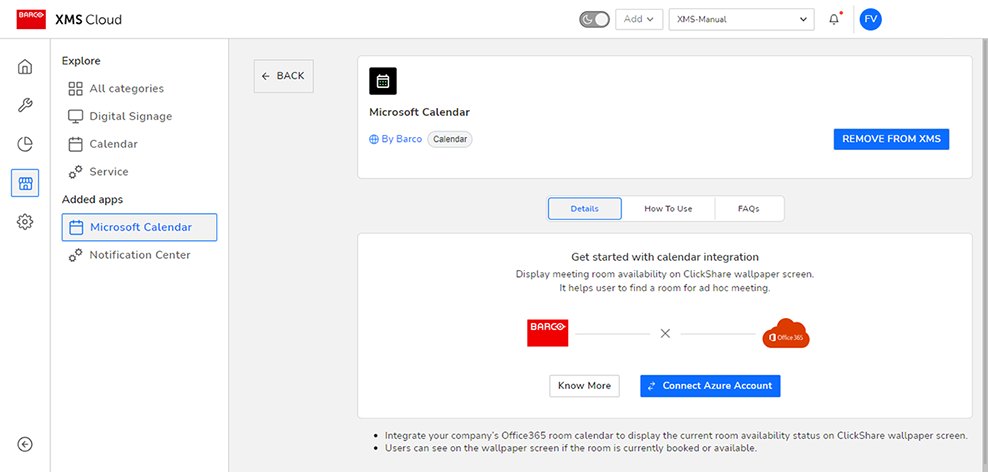
Click Connect Azure Account.
Sign in using the administrator credentials.
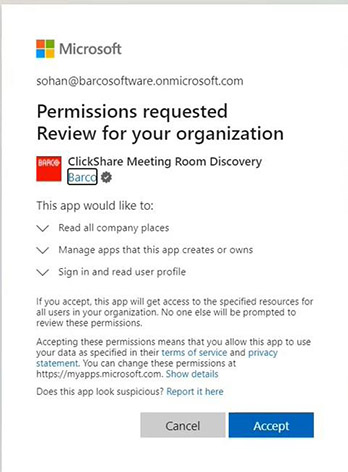
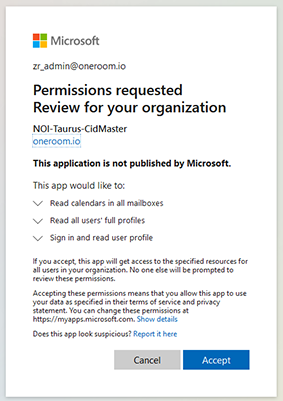
An approval screen for ClickShare Meeting Room Discovery will be shown.
Read the message on the screen and click Accept.
A redirection to XMS Cloud will occur.
Wait until the validation has completed.
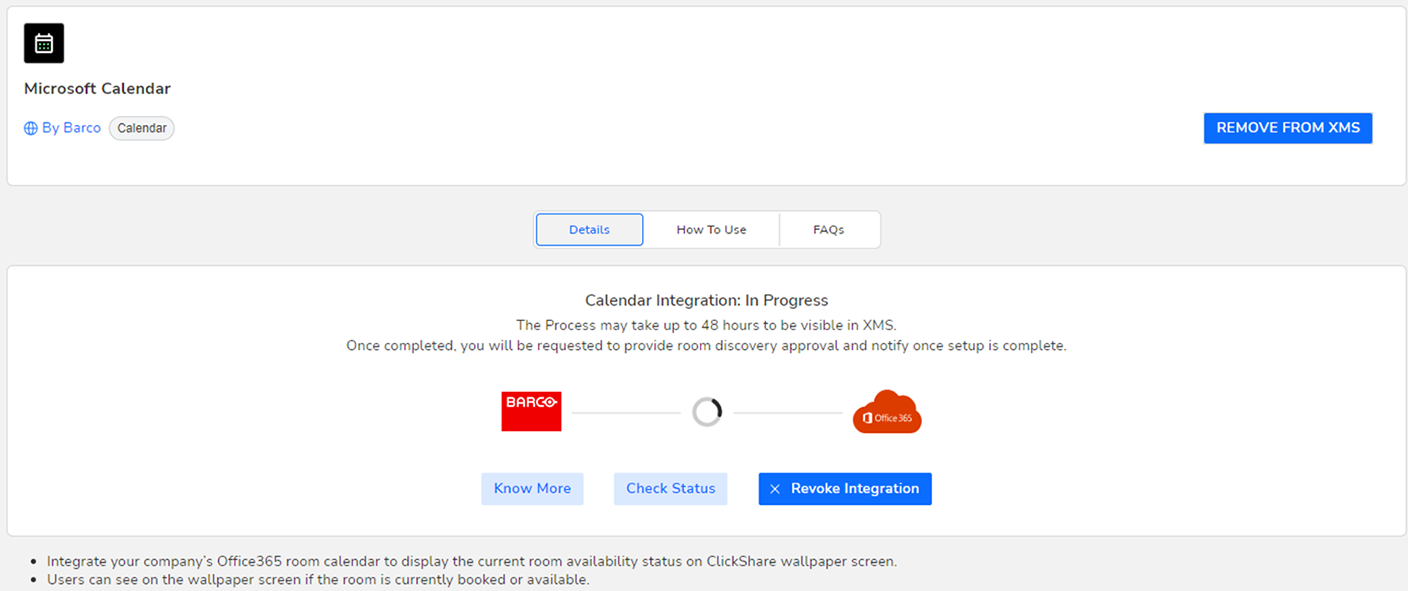
The page will refresh.
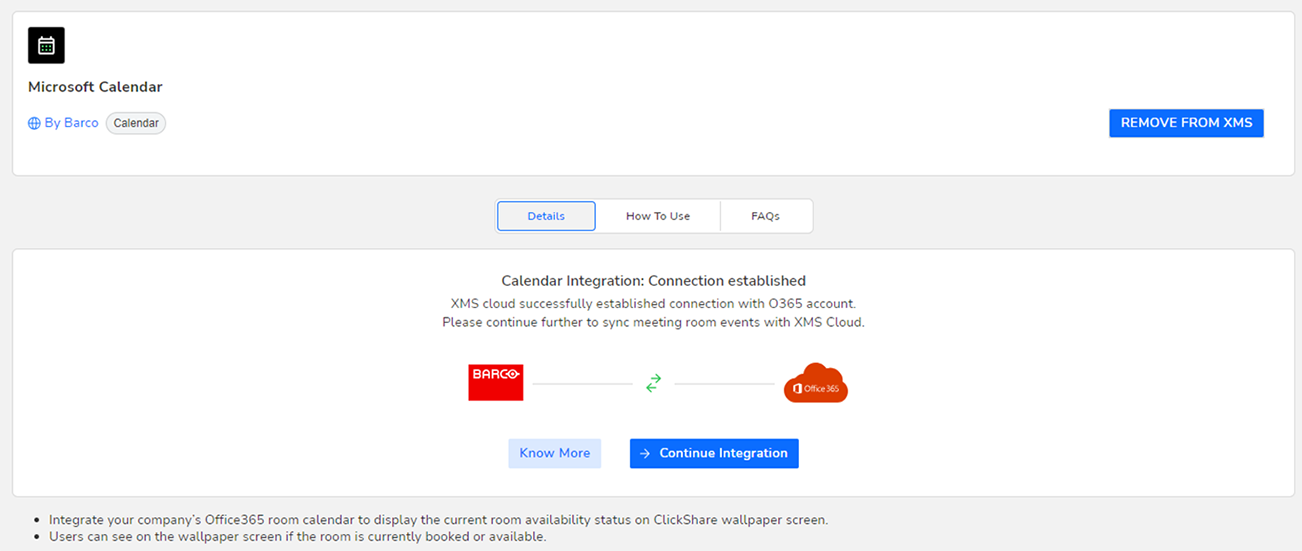
Click on Continue integration to grant read permissions to XMS Cloud.
Read the message on the screen and click Accept.
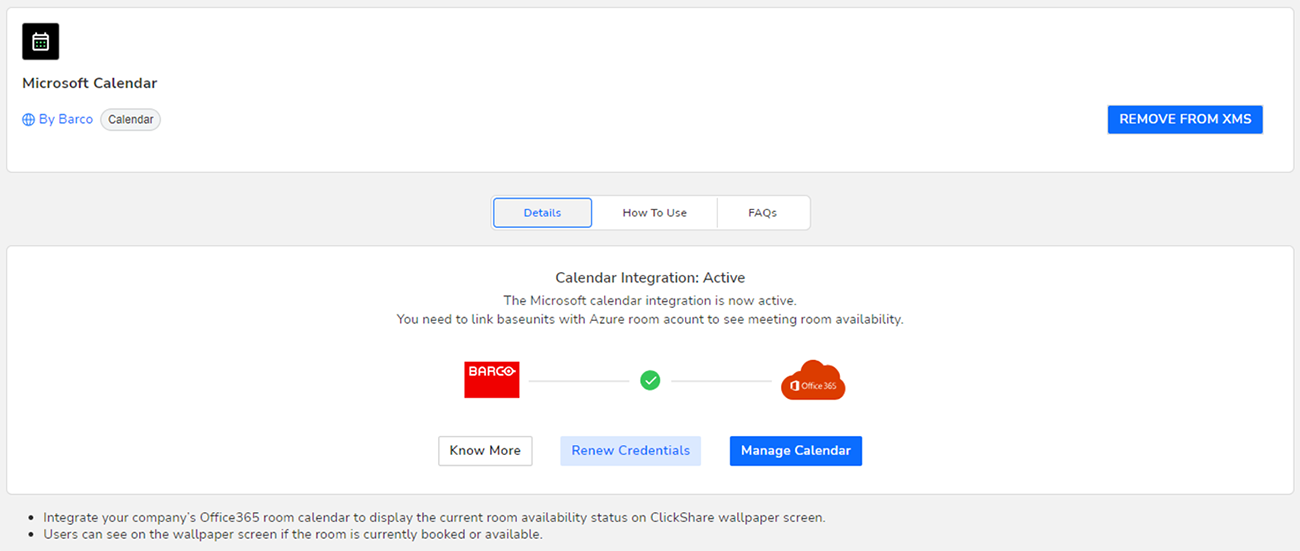
The integration process has been completed.
Click on “Manage calendar” to configure the calendar integration. For more information, see “Microsoft calendar”.