Calibration introduction
If the projector is to be used only on one laser power setting, use this guide for calibration:
If the projector is to be used only on one laser power setting, use this guide for calibration:
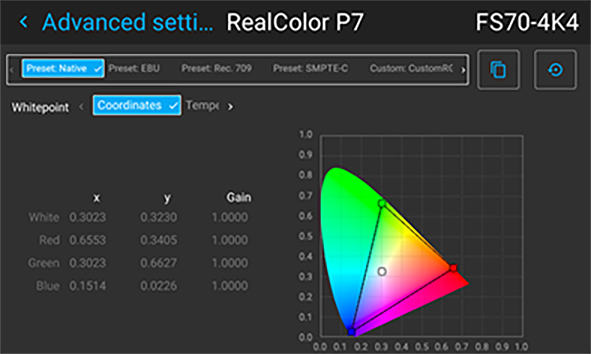
Select RealColor mode preset: Native.
Select desired BrilliantColor mode.

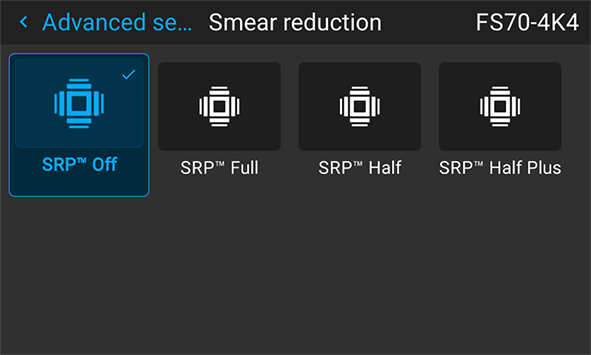
Select desired Smear reduction mode
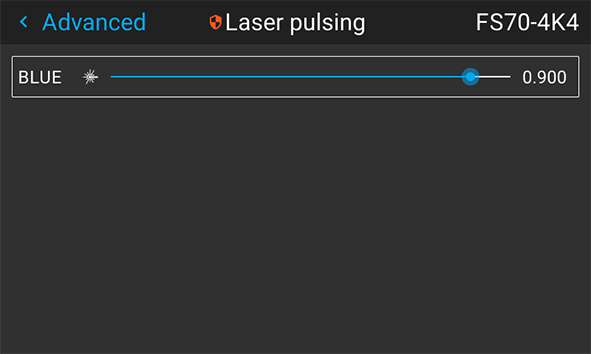
Adjust the laser pulse value to obtain the desired white y-coordinate.
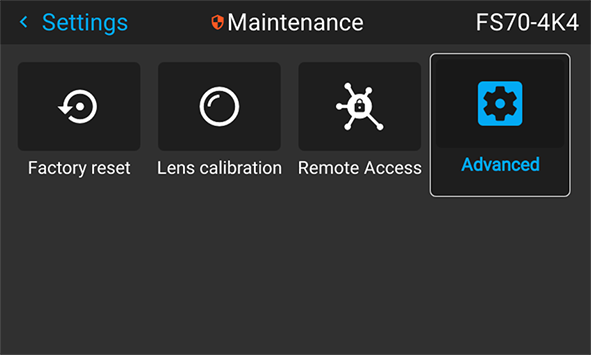
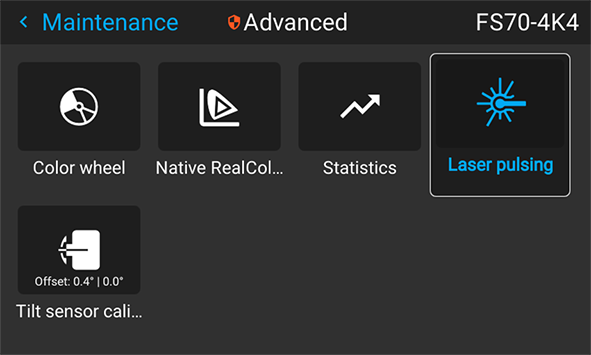
Log in as Power user. Go to menu
Enter the access code from the remote controller numeric pad to have access to the feature.

Enter the menu
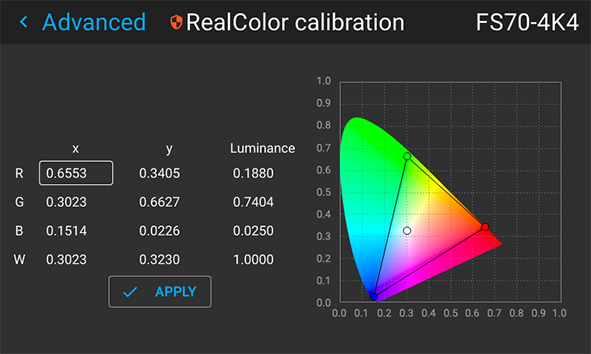
Go to Native RealColor within the Maintenance section to input the resulting white x and y coordinates. Click Apply when done.